Projekty dofinansowane z funduszy UE.Unia Europejska Union

Prepare your model for conversion to Augmented Reality

We realize that you are most comfortable working with your own software. That is why we have made it our goal to provide you with the best possible support for your tools. Please read our information on how to properly prepare a 3D model. If you have any problems, you can write to us here.

Simplify hierarchies in your project

The simpler the element tree in your project, the less likely it is that something will go wrong. Discard unnecessary elements and try to keep all elements in one group.

Reduce the texture quality and texture size

It is often not the model that weighs the most but the textures. The lower resolution reduces the size of the files considerably. Also, remember that you can bake the textures/lights/colors on the material. This solution will not be harmful.

Delete unnecessary and unused data

If there are hidden elements in your model or elements that the customer will not see anyway, you can remove them. This will have a positive effect on the display quality.

Reduce the number of polygons

Reducing the number of polygons always has a positive effect on performance. Try to reduce them as much as possible for less important elements in your native software so that the model can load as fast as possible on the client’s side.

Increase the distance between the faces

There are situations where the faces of geometry that are close to each other overlap. If you notice the faces that penetrate irregularly, move them away.

Reverse normal

The wrong normal direction in the model can cause shading in parts of the model. Reverse the geometry normal in these areas to fix your model.

Below is an instruction on how to do it in individual programs.

We currently support the following software. Find your manufacturer's logo and see if your models meet the criteria for conversion to augmented reality.

Autodesk 3ds MaxBlenderKeyShotSketchUpRevitSolidWorksRhinoCerosMaya
OTHER

3DS MAX

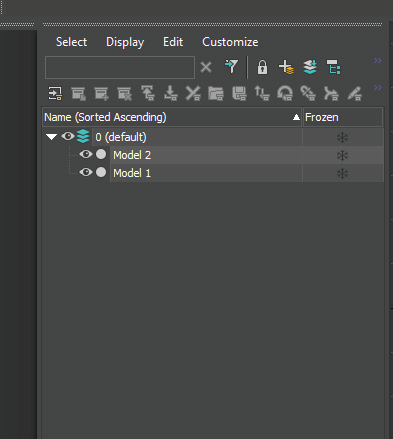
The layers

Check the model for correctness of its construction.

Make sure that the correct areas of the model have been joined and the surfaces are divided and grouped as intended.

Limit the number of model layers by dividing individual parts according to the assigned textures, or keep the model on one layer by dividing the texturing areas.

If you leave more than one layer in the model, make sure each layer has a different name.

Avoid sublayers to simplify structure.

Clean up the scene from duplicate and unnecessary objects

  • points
  • surface
  • edges
  • curves
  • lights
  • cameras etc.
3dsMax manual 1x

Model

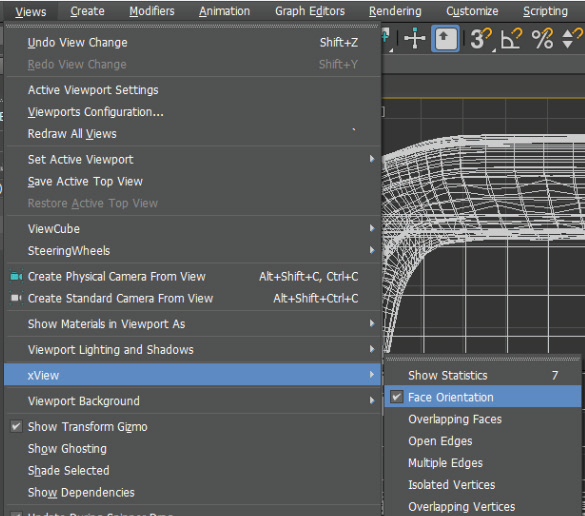
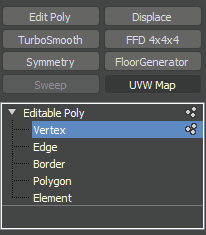
Join the vertexes and check the orientation of all surfaces.

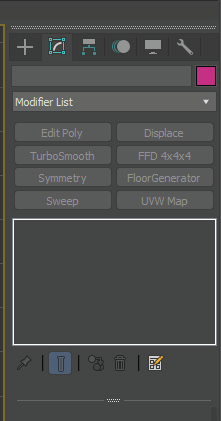
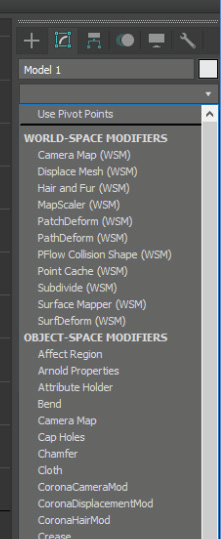
Activate applied model modifications and transformations.

Check the position of the model in space and the direction of the normals.

Check scales and units.

Keep the correct geometry structure and number of its components.

Check that the scene does not contain any hidden elements.

Manual screen

Textures

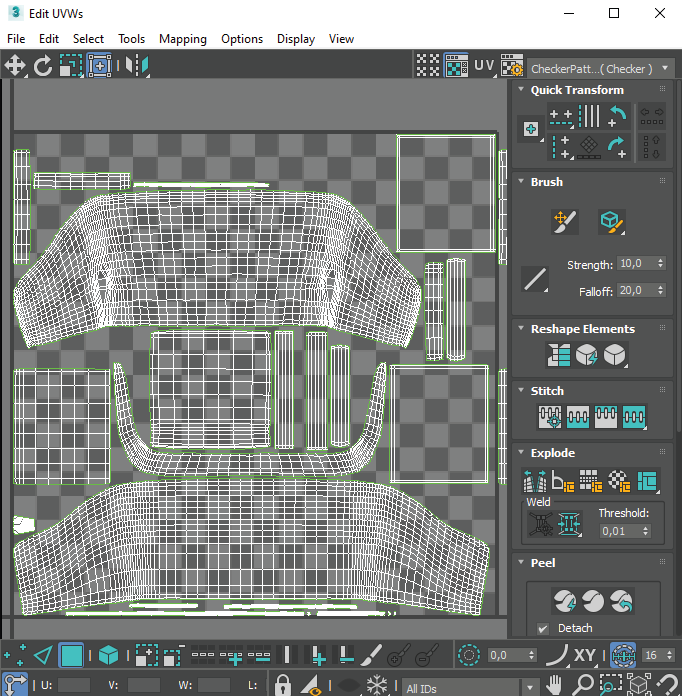
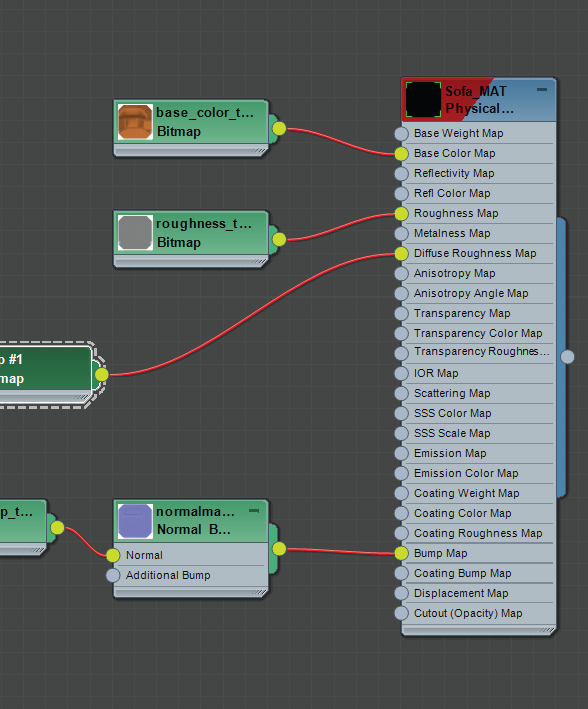
The object should contain only one UV Map from each used space of the material, i.e.

  • color
  • ambient occlusion
  • roughness
  • normal
  • metallic
  • specular
  • glossiness
Manual screen Color AO

ColorAO.png

Manual screen Metalic

Metalic.png

Manual screen Normal

Normal.png

Manual screen Roughness

Roughness.png

Make sure the model has surfaces properly mapped.

Make sure all textures display properly.

Remember to use good quality textures, but we recommend using textures not exceeding 2k resolution.

Manual screen

Export

Set the time of the animation and check its smoothness in the preview.

Remove unnecessary objects from the export and save only those that remain selected.

Check dimensions and scale again during animation and object coordinates.

Save your .max file and upload it to See My Model.

Solutions

Pricing

Support

ContactHow toDocumentationFAQ
See my model logo small

Let's stay in touch.

linkedinfacebookyoutube

© 2024 See My Model. All Rights Reserved.